
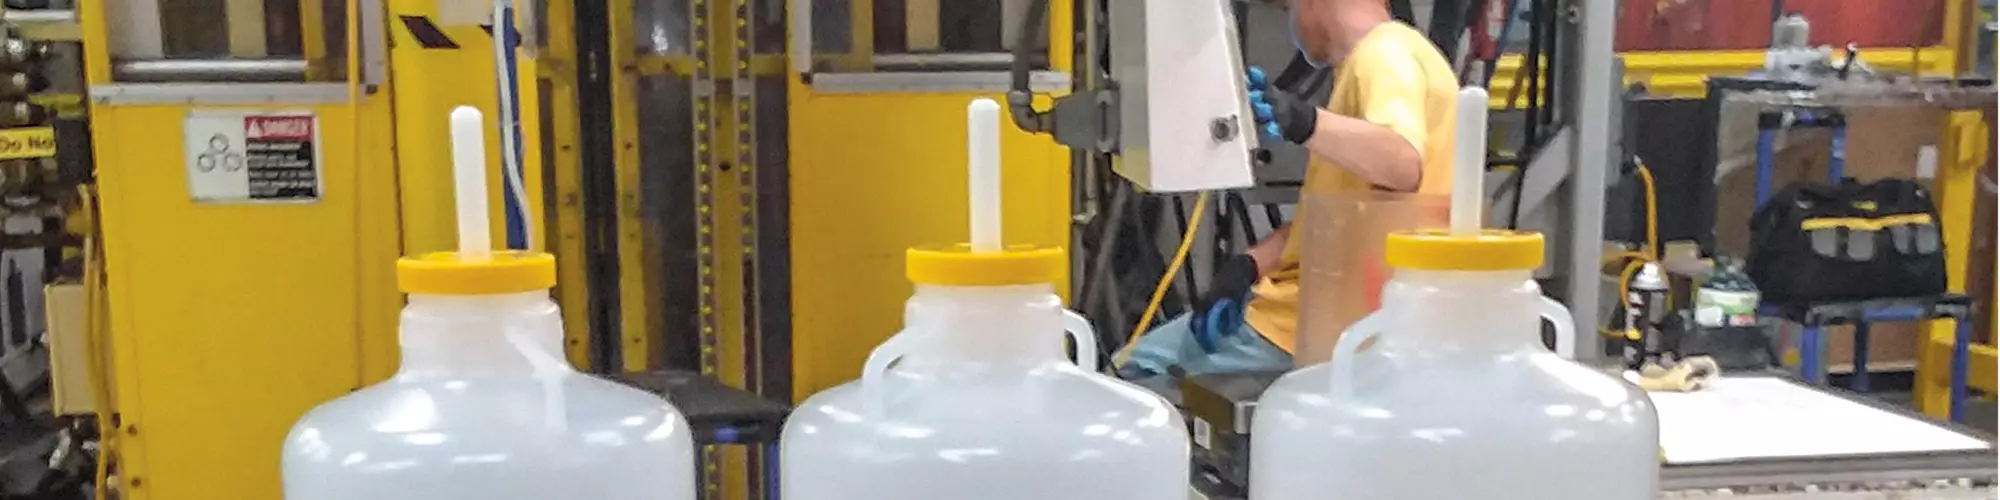
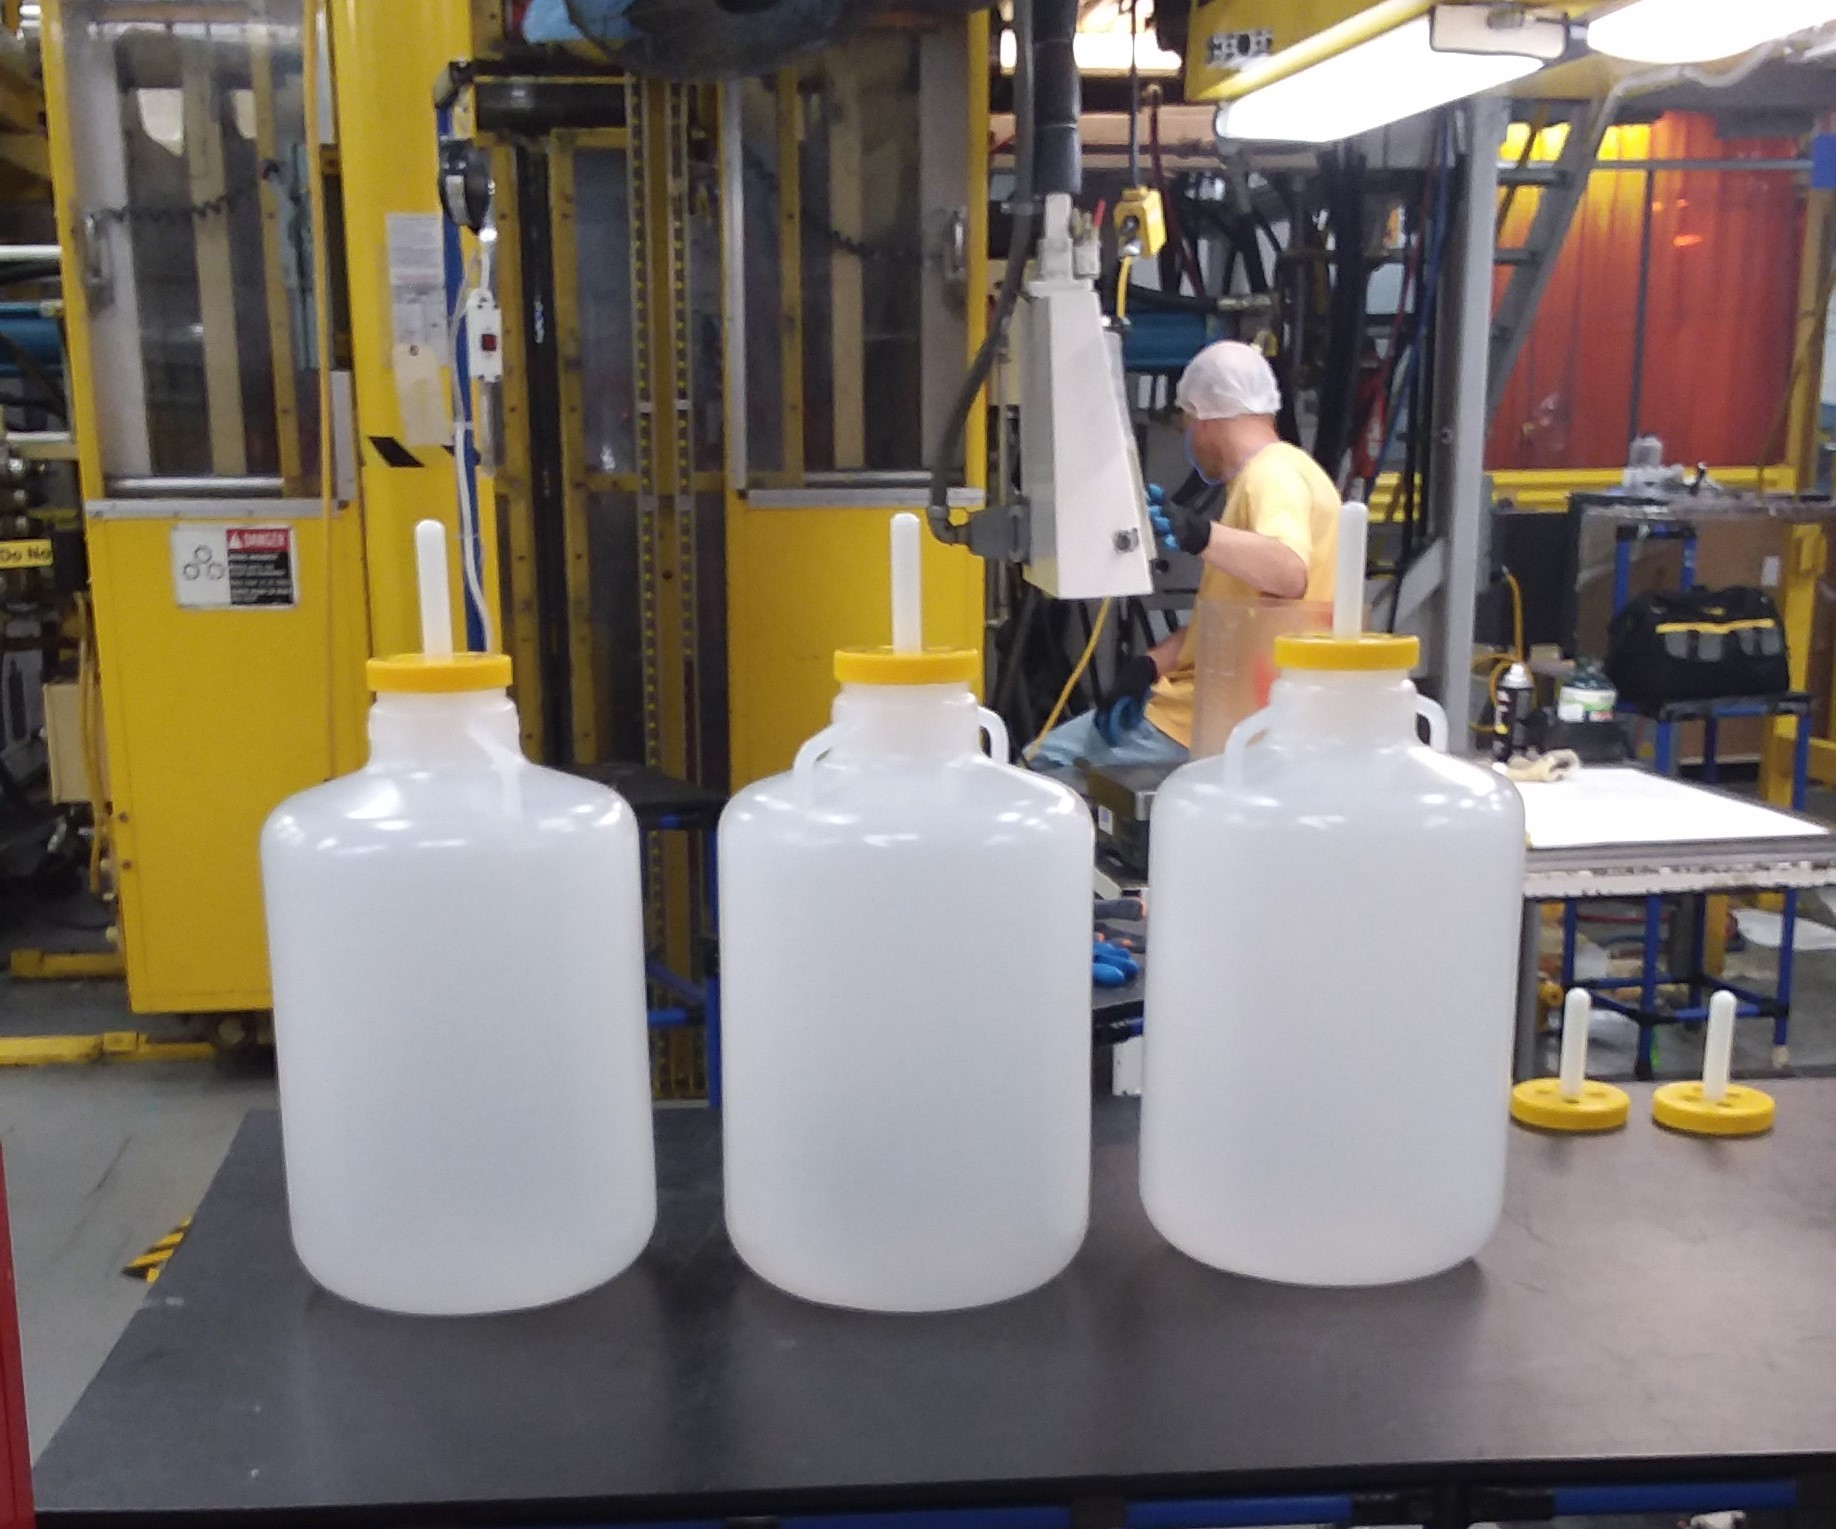
Typical products made by accumulator-head blow molding include single-wall hollow bottles like these. (Photos: Thermo Fisher Scientific, Rochester, N.Y.)
The value of purging is especially beneficial when shutting down for an extended amount of time, like a weekend. Thermo Fisher fills the barrel with Dyna-Purge to prevent oxidation, a major cause of degradation. As the machine cools, Dyna-Purge will solidify and shrink, pulling residue away from the barrel walls.
Large blow molding machines at ThermoFisher Scientific’s Rochester, N.Y., facility routinely use Dyna-Purge F2 product for cleaning heads and extruder screws. ThermoFisher molding personnel say this practice reduces black-speck contamination after the machine comes out of a scheduled shutdown. Recommended purging procedures outlined in this article deliver significant time savings and reduce resin waste during startup, says ThermoFisher.


If you operate accumulator-head blow molders, most likely you have tried to reduce the loss of time and material created by color changes, material changes, streaks and contamination. Success and efficiency of purging your machine depends on the proper care of your machinery and following the purging procedures for a product that is designed for your needs.
There are a number of considerations worth mentioning that are necessary for a positive purging outcome on any blow molding machine with accumulator heads. Let’s review them now:


• Temperature: The first thing you have to ensure is that your heating and cooling functions are working properly on your barrel, screw and accumulator head. Issues in this area are commonly overlooked. One of the inspections you should conduct to ensure that the temperature readings are accurate is a planned maintenance inspection using a hand-held, quick-response probe. These devices are a good option to check and ensure your machines' temperature controls are performing properly.
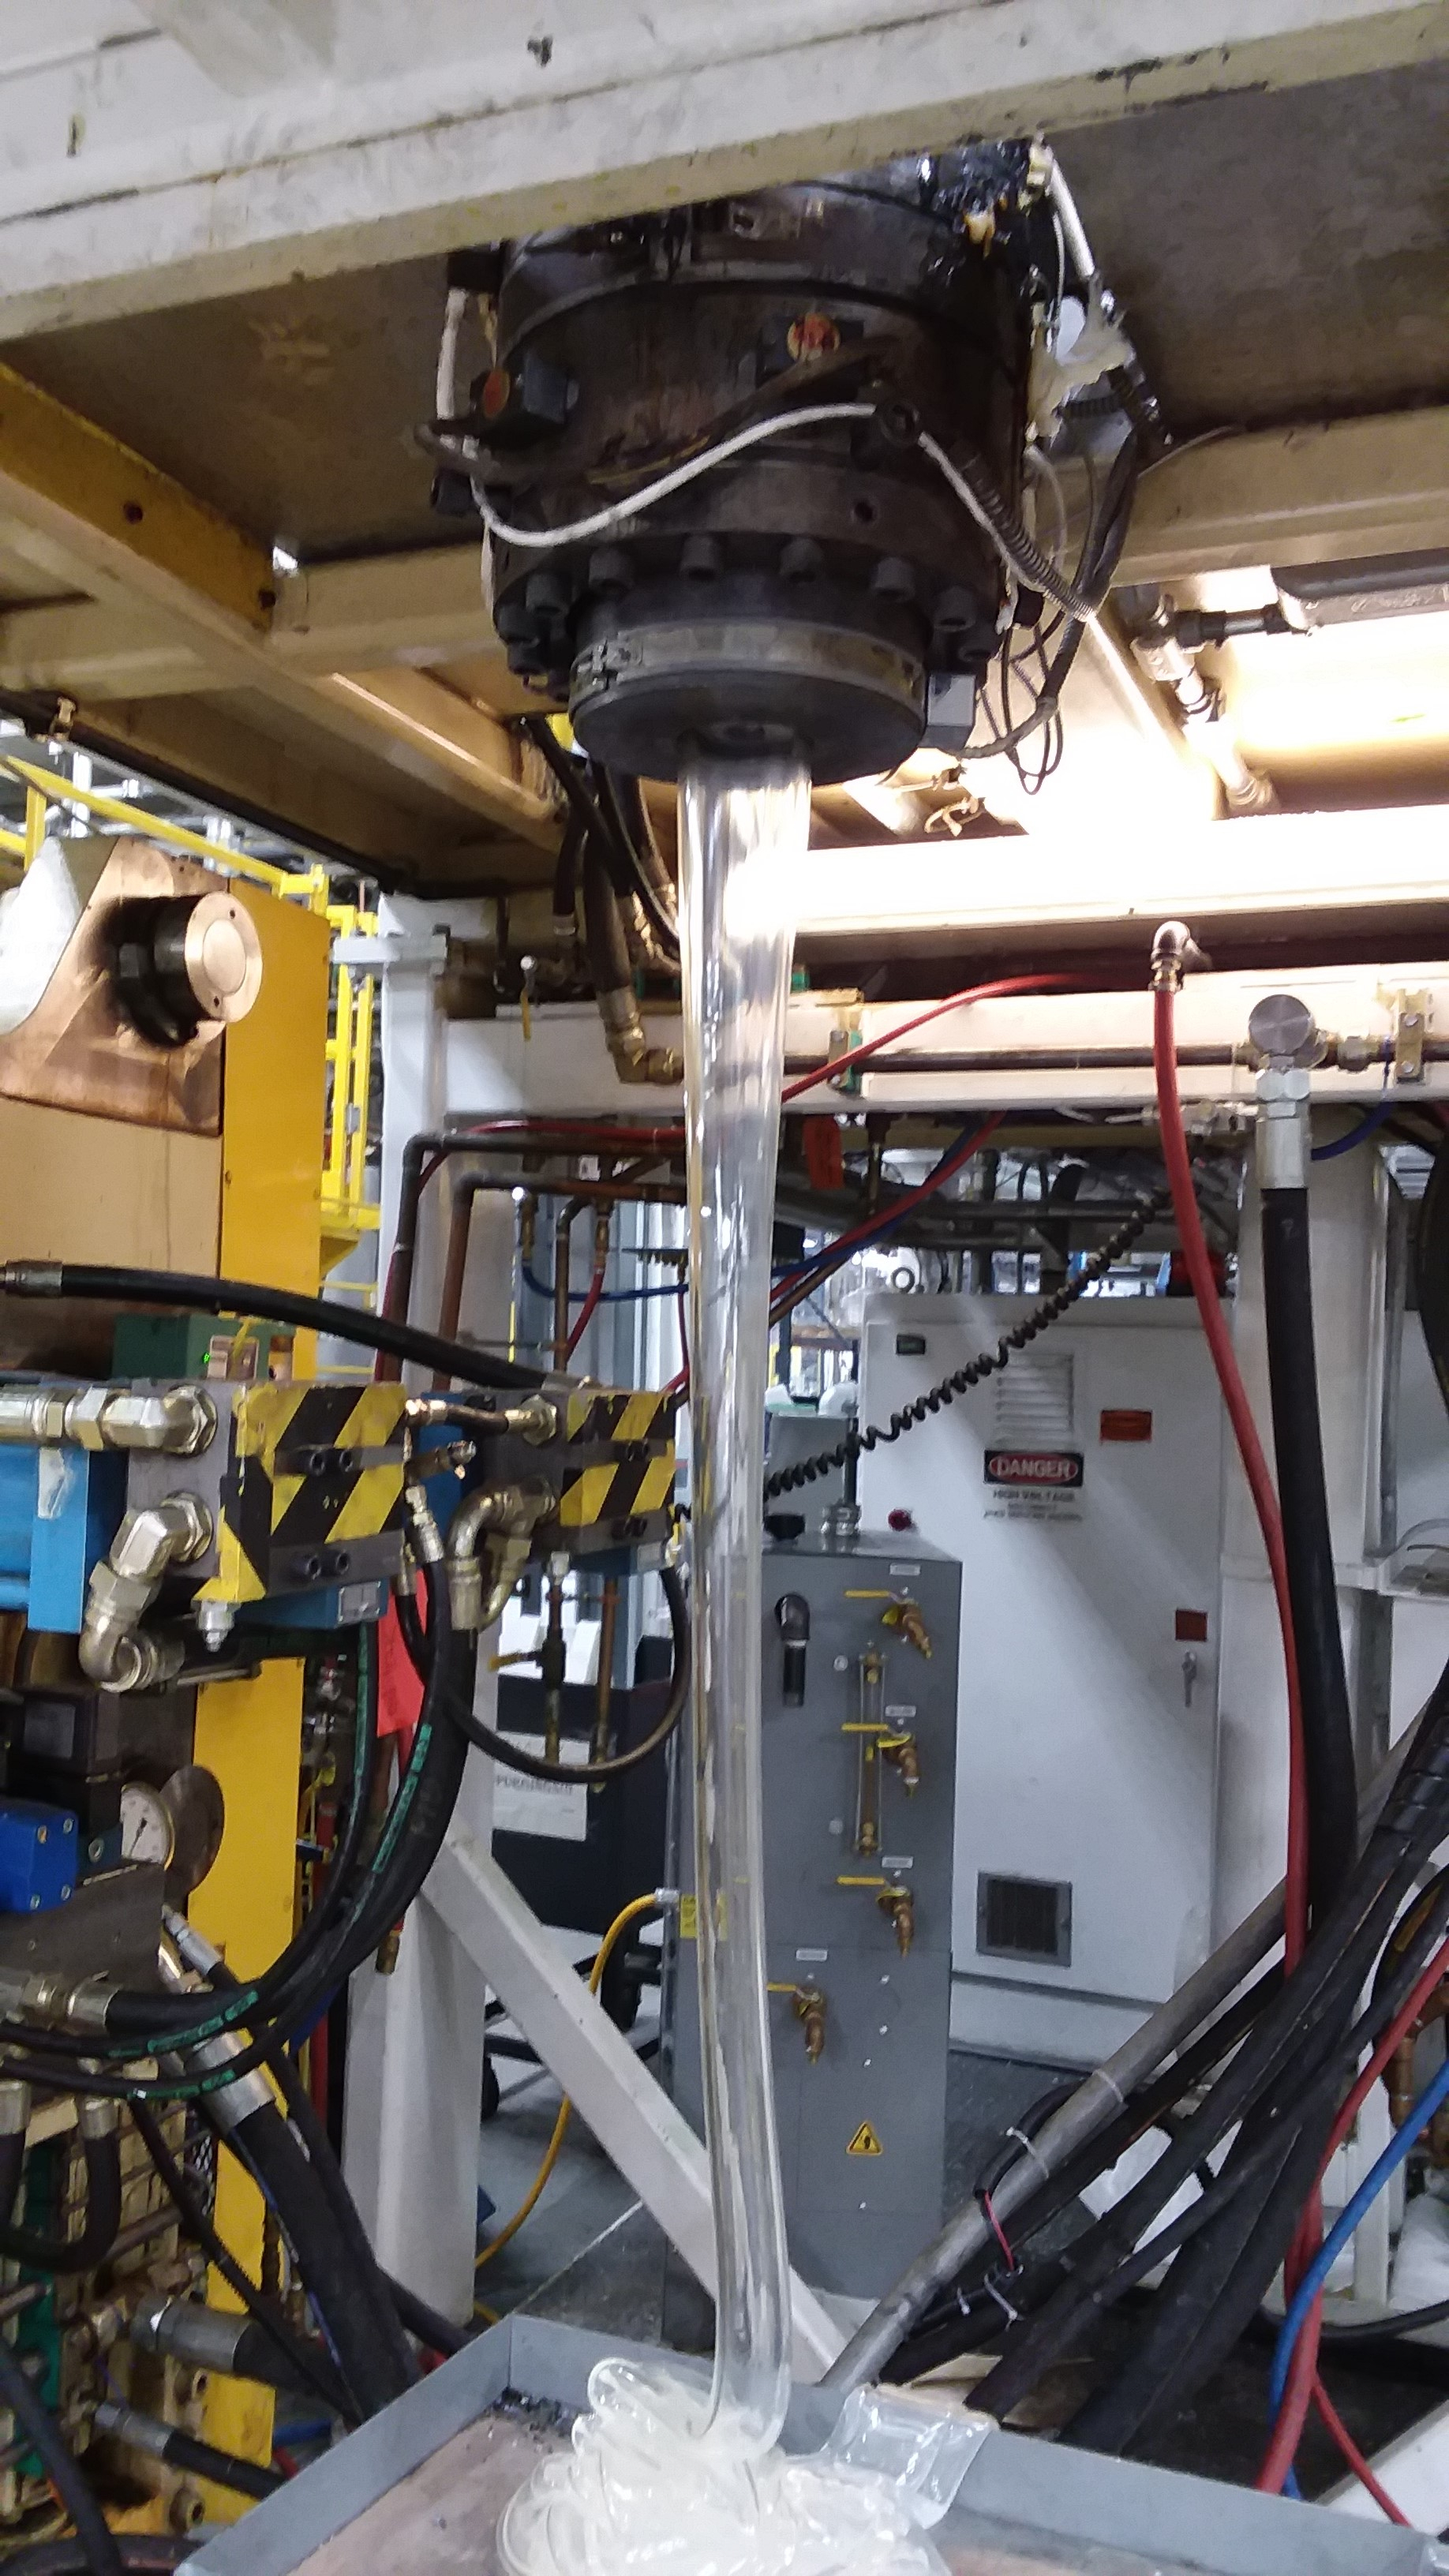
• Startup and shutdown purging: In addition to color and material changes, shutdown purging is a good practice to follow. Using a commercial purging compound when shutting down is the best way to give your machine a thorough internal cleaning, even if you will continue running the same color. A very important step to purging an accumulator head is making sure you are following machine-manufacturer and commercial purging-compound instructions while overfilling your machine to accumulator-head capacity.
• Purging procedure best practices: In addition to the machine manufacturer's procedures and purge-compound instructions, here are some “best purging practices” made simple.
1. Ensure that your machine’s temperature controls are working correctly and are set to the purging compound’s specified temperatures. Helpful hints: Your product may have a “sweet-spot”—say, in the middle of the temperature range. Increasing temperatures on the head/die by 50º F (28º C) may improve purging results.
2. Confirm that your system is clean, with no chance of further contamination. Helpful hint: Have a checklist to ensure proper techniques are used to thoroughly clean the feed system.
3. Set your die gap open enough to let material flow out as you fill the head with purging compound. When you see the purging compound begin to appear, you can slowly close your tooling while filling, until you seal enough to be able to achieve 100% head fill. Helpful hint: Keeping die gap restricted during purging increases head backpressure, allowing for more aggressive cleaning.
4. Put enough purging compound in your machine to fill your head and extruder. Helpful hint: Measure the amount it takes to fill the machine and keep that posted for other operators.
5. Reduce the extruder speed from its normal operating speed. Helpful hint: Start your extruder at around 20% or lower each time you restart and slowly increase while monitoring pressure indicators during all steps.
6. Fill with purging compound until your head and barrel are full. Wait the suggested amount of time at the suggested temperatures for the purge compound.
Keeping die gap restricted during purging increases head backpressure, allowing for more aggressive cleaning.
7. Follow with a virgin resin chaser or your normal production resin to remove the purging compound (post-purge) from the machine. Verify you are clean with quality-assurance first-article approval and begin your production. Helpful hint: Have a clean part that will pass inspection for comparison.
8. Depending upon machine age and condition prior to purging, more than one fill (or full cycle) of purge compound may be necessary to achieve a clean state. Helpful hint: Pre-measure the standard amount plus one additional barrel capacity so you have extra available and ready to repeat.
• Tool-Less Purge: In preparing to use a compound due to ongoing contamination, try pulling the seal ring when the die ring and pin are pulled. Because it's a restricted area, large chunks of contamination or previous color can hang up there. After pulling and then cleaning the tooling and seal ring, run the extruder slowly to push out any large contaminants before putting the tooling back in the head and using your compound.
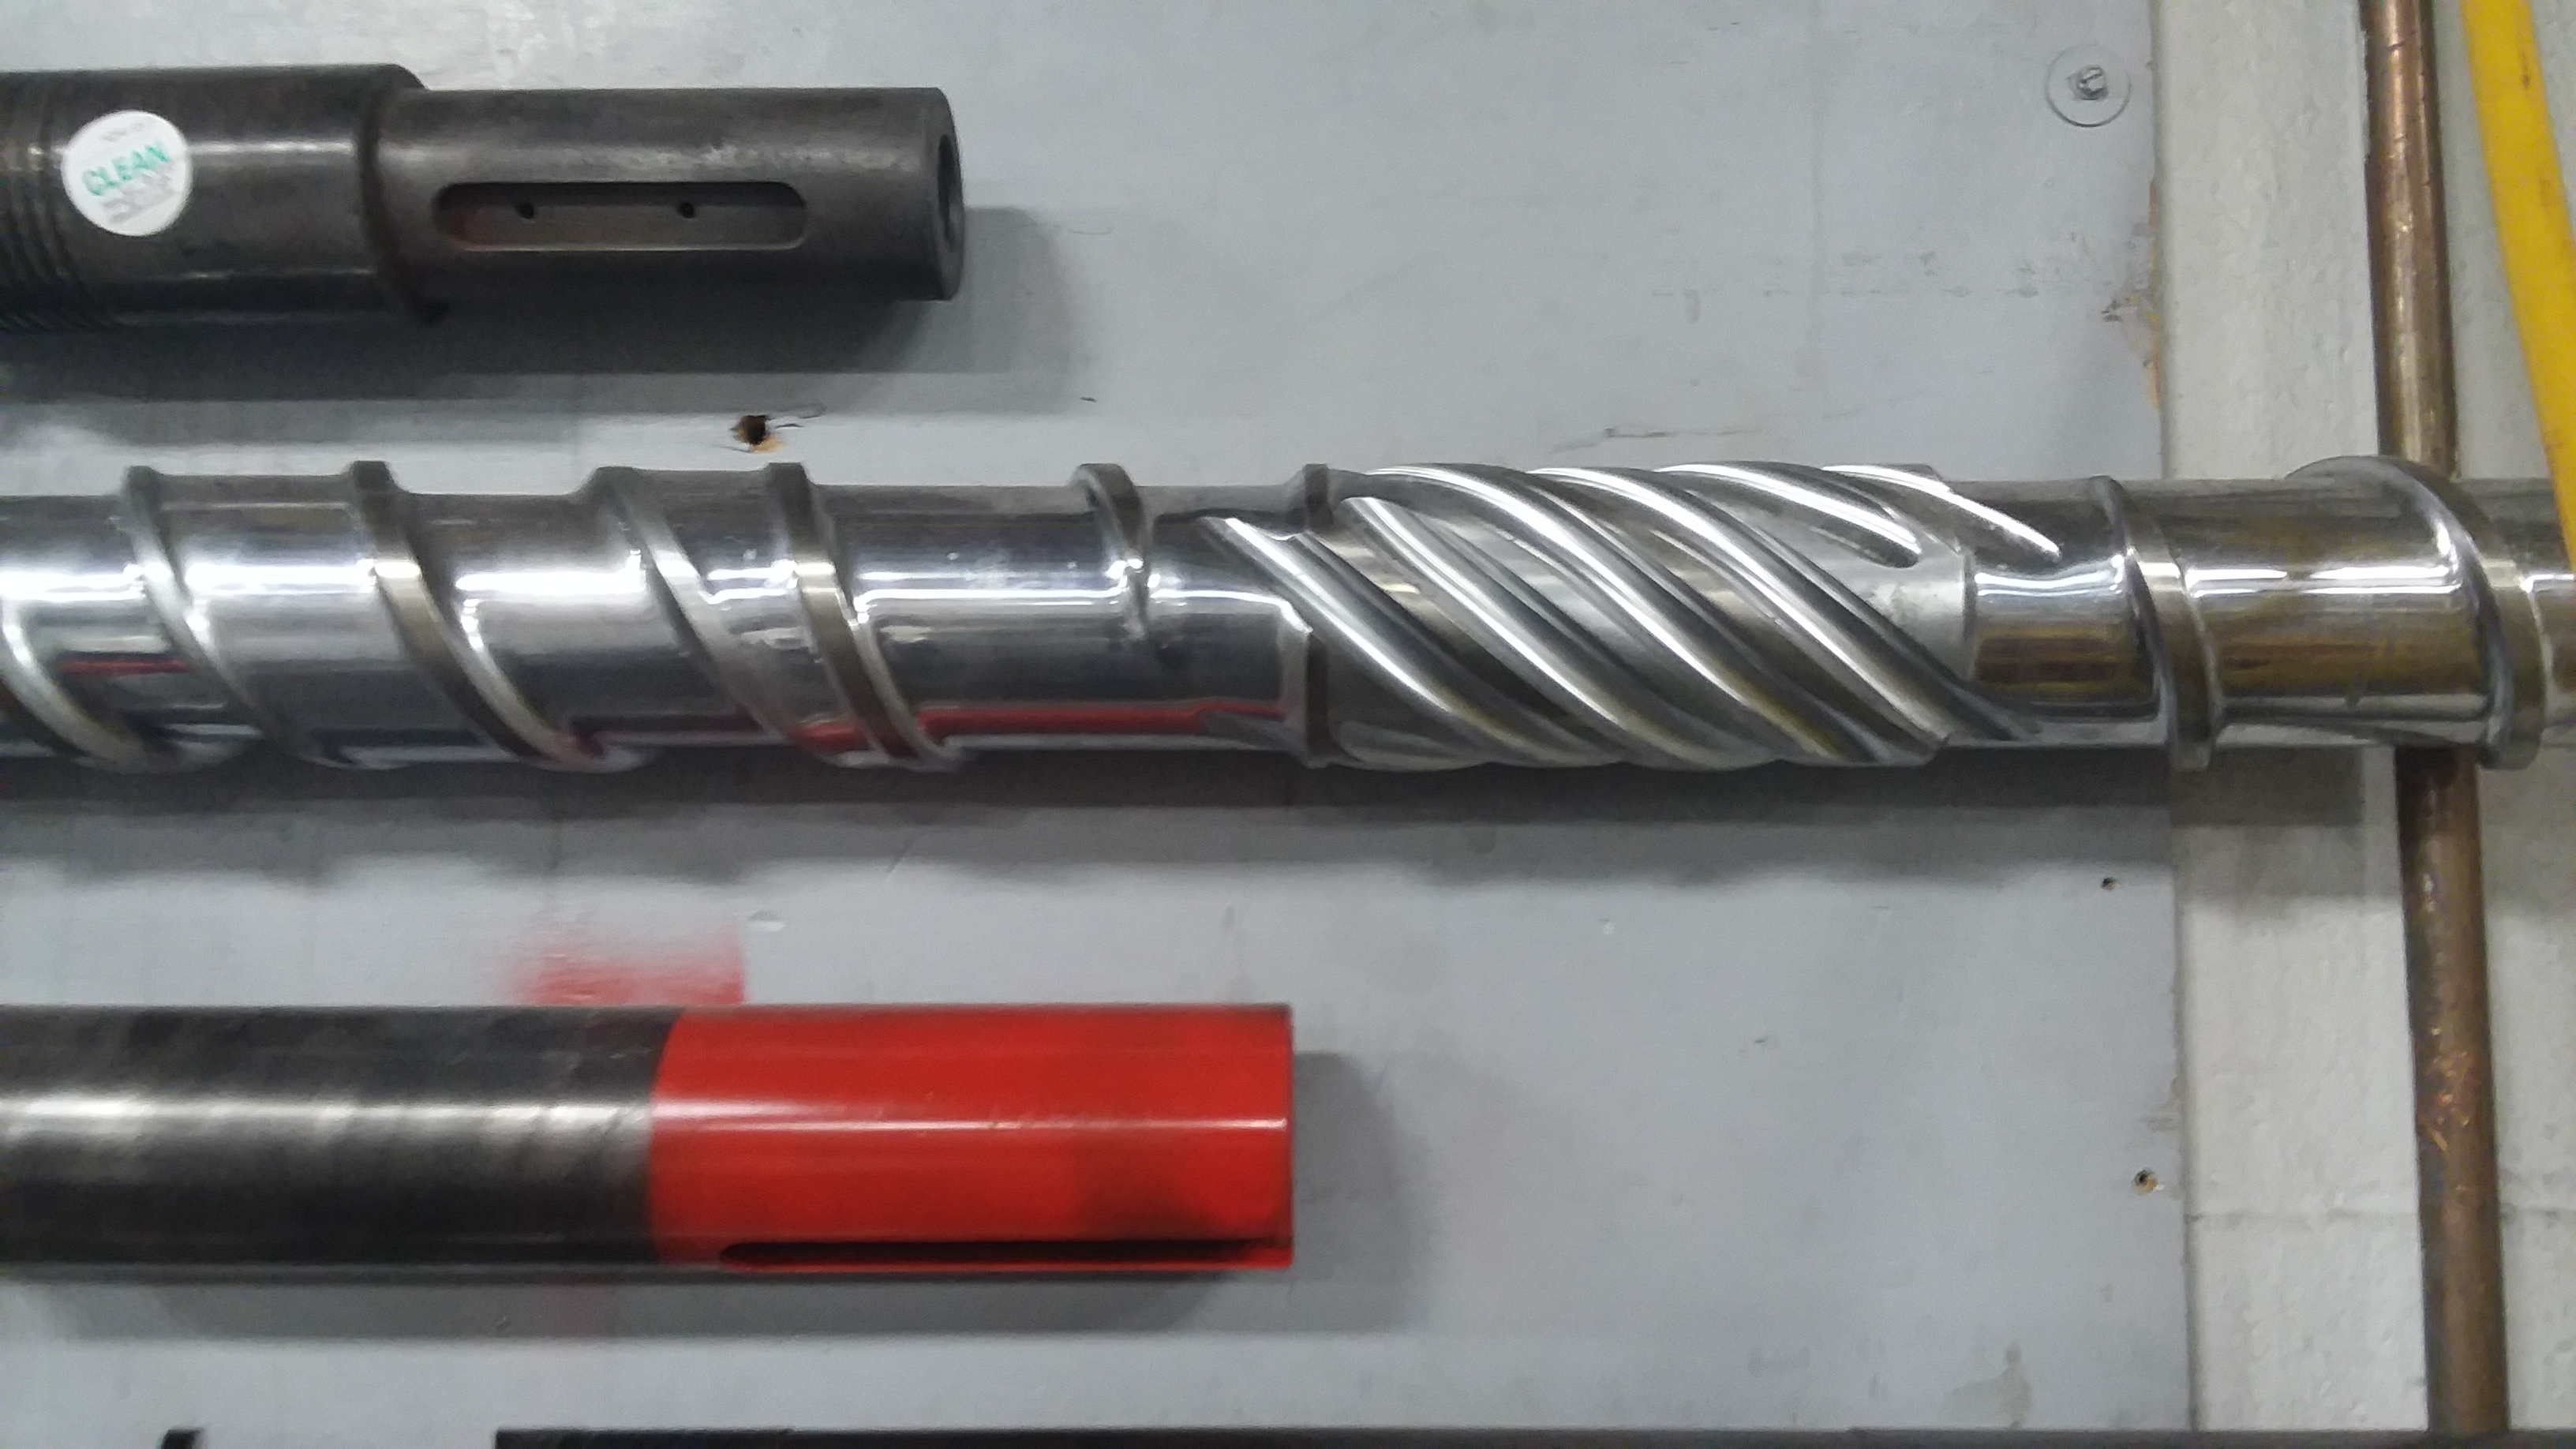
• Accumulator-head care: Did you correctly check everything outlined here? Did you purge and remove the previous color, additives or contamination from the system? Are you still getting streaks or specks in your parison? Helpful hint: It may be time to inspect the internals of your screw/barrel and accumulator head for any wear or grooves that can trap contamination.
About the Authors: Peter Miller has been in blow molding for 28 years. He started as an operator, then moved up to mechanical operations leader and then plant manager at a facility with 19 accumulator-head machines. He started Delta Blow Mold Consulting and Repair, N. Tonawanda, N.Y., in May 2019, in response to the shortage of dedicated mechanical ability in manufacturing. Contact: 716-512-4458; blowmoldpro@gmail.com.
Bob Grzegorek is global technical services manager for the Dyna-Purge Division of Shuman Plastics. A disciple of Scientific Injection Molding, he has completed extensive course work with RJG Technologies and John Bozzelli. A 1984 graduate of the University of Evansville, he holds a BS in Business Administration with emphasis in Operations Management. Grzegorek spent his early career working for custom injection molders Ethyl Molded Products and Jones Plastics and Engineering, as well as automotive Tier One supplier GECOM. Recently he held positions as Plant Manager with Newell Rubbermaid and Reflex and Allen an extrusion company. Contact: 716.685.212; shuman-plastics.com.


Related Content

Solve Four Common Problems in PET Stretch-Blow Molding
Here’s a quick guide to fixing four nettlesome problems in processing PET bottles.
Read More
How Was K 2022 for Blow Molding?
Over a dozen companies emphasized sustainability with use of foam and recycle, lightweighting and energy savings, along with new capabilities in controls, automation and quick changeovers.
Read More
Avoid Four Common Traps In Granulation
Today, more than ever, granulation is an important step in the total production process. Our expert explains a few of the many common traps to avoid when thinking about granulators
Read More
At NPE, Cypet to Show Latest Achievements in Large PET Containers
Maker of one-stage ISBM machines will show off new sizes and styles of handled and stackable PET containers, including novel interlocking products.
Read MoreRead Next

Lead the Conversation, Change the Conversation
Coverage of single-use plastics can be both misleading and demoralizing. Here are 10 tips for changing the perception of the plastics industry at your company and in your community.
Read More
Beyond Prototypes: 8 Ways the Plastics Industry Is Using 3D Printing
Plastics processors are finding applications for 3D printing around the plant and across the supply chain. Here are 8 examples to look for at NPE2024.
Read More
For PLASTICS' CEO Seaholm, NPE to Shine Light on Sustainability Successes
With advocacy, communication and sustainability as three main pillars, Seaholm leads a trade association to NPE that ‘is more active today than we have ever been.’
Read More